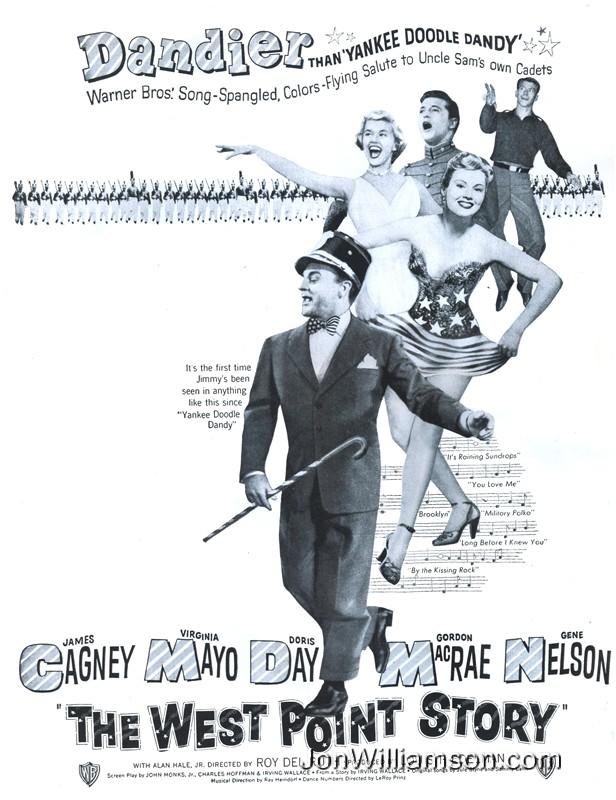
The West Point Story
| Year | 1950 |
|---|---|
| Country | USA |
| Tagline | It's Another Dandy! A SongSpangled, ColorsFlying Salute to Uncle Sam's Own Cadets! |
| Director | Roy Del Ruth |
| Cinematography | Sidney Hickox |
| Scriptwriters | Irving WallaceJohn Monks Jr.Charles Hoffman |
| Produced | Louis F. Edelman |
| Music | Howard Jackson |
| Art Direction | Charles H. ClarkeMilo AndersonMarjorie Best |
| Editing | Owen Marks |
| Genres | ComedyMusic |
| Release Date | November 25, 1950 |
| Runtime | 107 min. |


