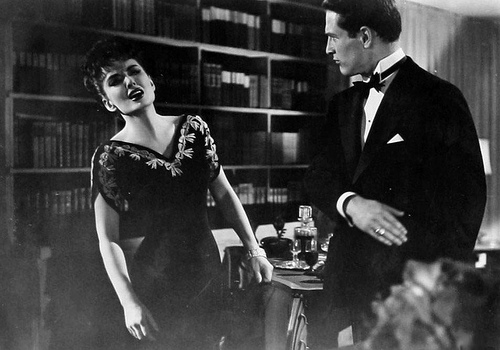
The Helen Morgan Story

| Year | 1957 |
|---|---|
| Country | USA |
| Tagline | Her Real Story From Real Life! |
| Director | Michael Curtiz |
| Cinematography | Ted D. McCord |
| Scriptwriters | Nelson GiddingStephen LongstreetDean Riesner |
| Produced | Martin Rackin |
| Music | Ray Heindorf |
| Art Direction | John BeckmanHoward Shoup |
| Editing | Frank Bracht |
| Genres | DramaBiographyMusic |
| Release Date | October 2, 1957 |
| Runtime | 118 min. |