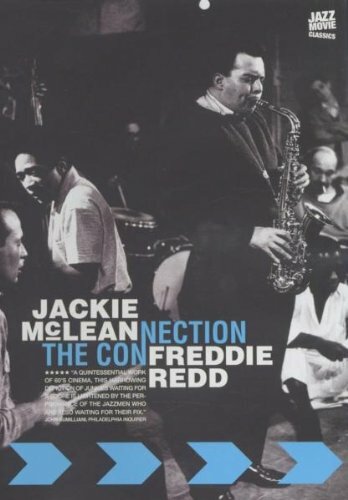
The Connection
| Year | 1962 |
|---|---|
| Country | USA |
| Tagline | Men Held Captive By the Power Of Drugs |
| Director | Shirley Clarke |
| Cinematography | Arthur J. Ornitz |
| Scriptwriters | Jack Gelber |
| Produced | Shirley ClarkeLewis M. AllenJim Di Gangi |
| Music | Freddie Redd |
| Art Direction | Richard SylbertAlbert BrennerRuth Morley |
| Editing | Shirley Clarke |
| Genres | Drama |
| Release Date | October 3, 1962 |
| Runtime | 110 min. |

