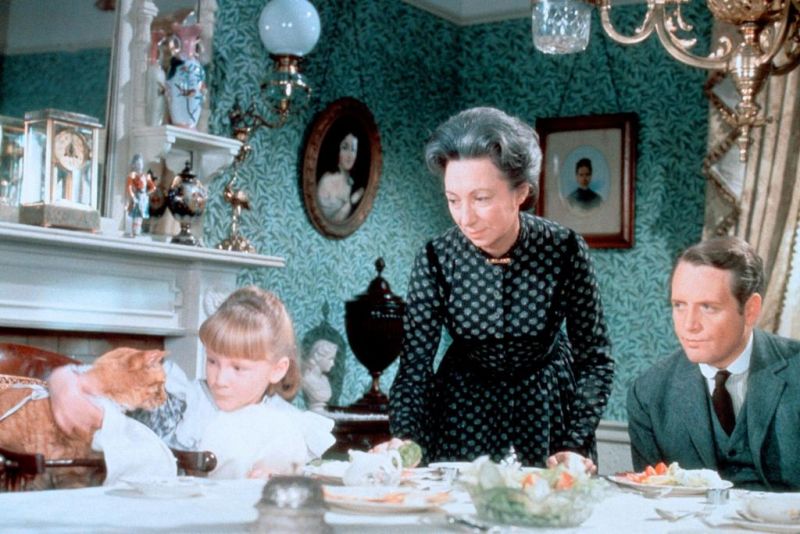
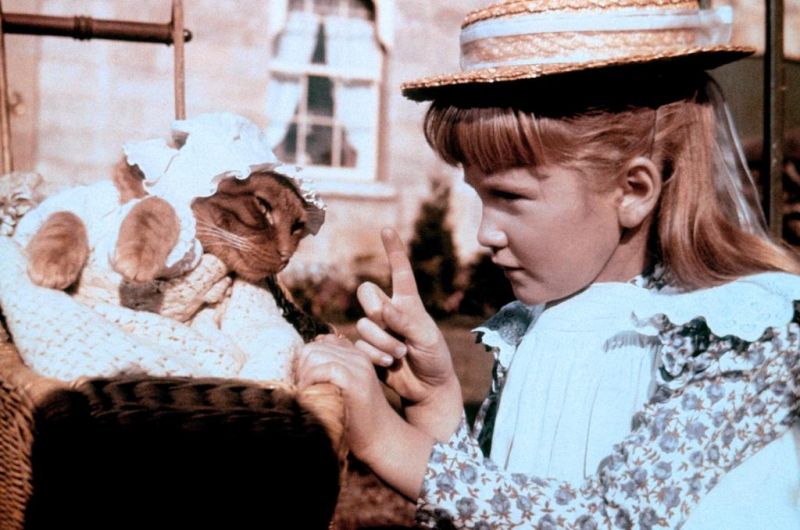
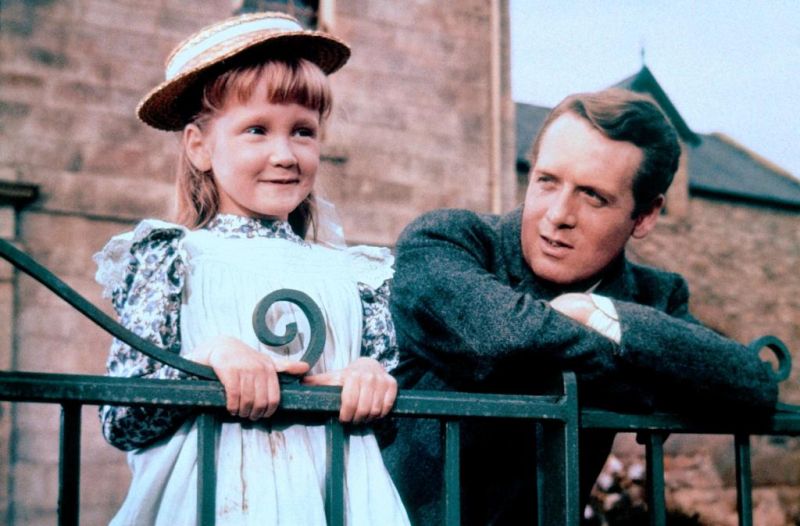
The Three Lives of Thomasina

| Year | 1963 |
|---|---|
| Country | UK, USA |
| Tagline | Three Human Lives Wonderfully Bewitched by a Enchanted Cat! |
| Director | Don Chaffey |
| Cinematography | Paul Beeson |
| Scriptwriters | Robert WesterbyPaul Gallico |
| Produced | Hugh AttwoollWalt Disney |
| Music | Paul J. Smith |
| Art Direction | Michael StringerMargaret Furse |
| Editing | Gordon Stone |
| Genres | DramaFamily |
| Release Date | December 11, 1963 |
| MPAA | PG |
| Runtime | 97 min. |