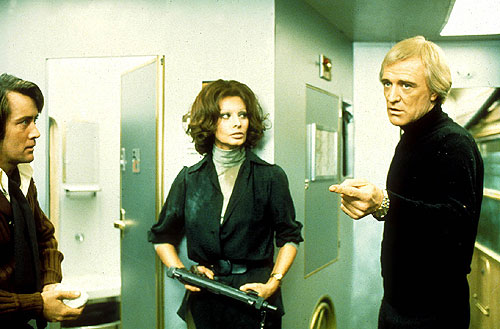
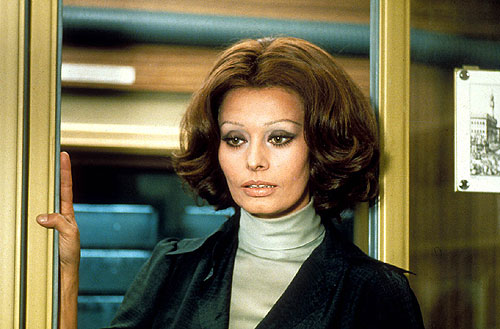
The Cassandra Crossing

| Year | 1976 |
|---|---|
| Country | UK, Italy, Germany (Germany) |
| Tagline | The Fear Is Spreading |
| Director | George P. Cosmatos |
| Cinematography | Ennio Guarnieri |
| Scriptwriters | Robert KatzGeorge P. CosmatosTom Mankiewicz |
| Produced | Carlo PontiGiancarlo PettiniLew Grade |
| Music | Jerry Goldsmith |
| Art Direction | Aurelio CrugnolaAdriana BerselliMario Liverani |
| Editing | Françoise BonnotRoberto Silvi |
| Genres | ThrillerDrama |
| Release Date | December 18, 1976 |
| MPAA | R |
| Runtime | 129 min. |