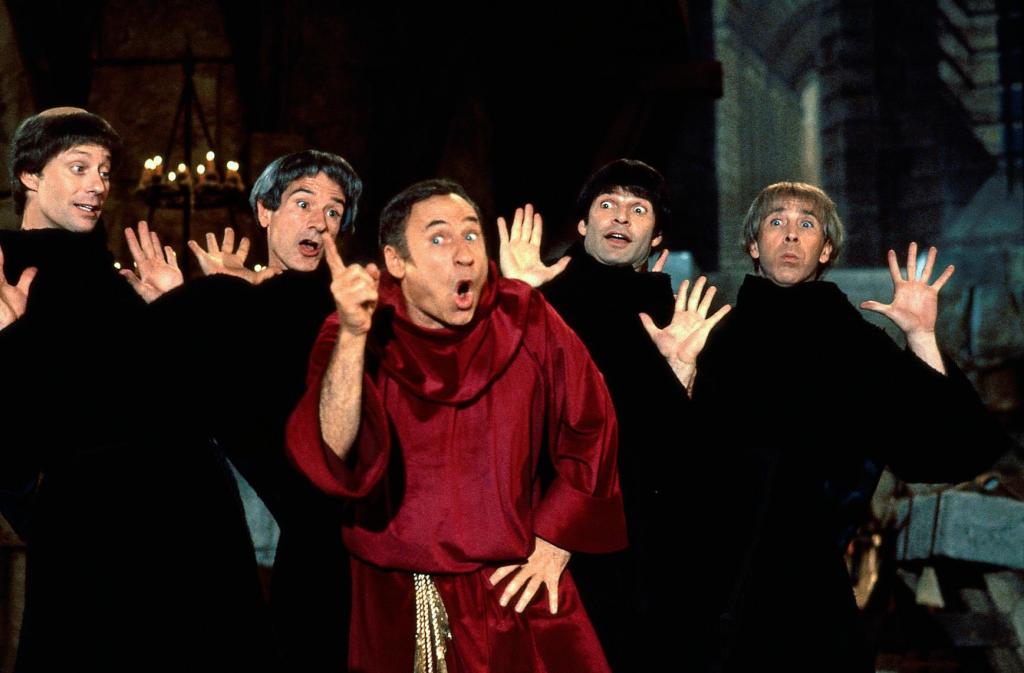
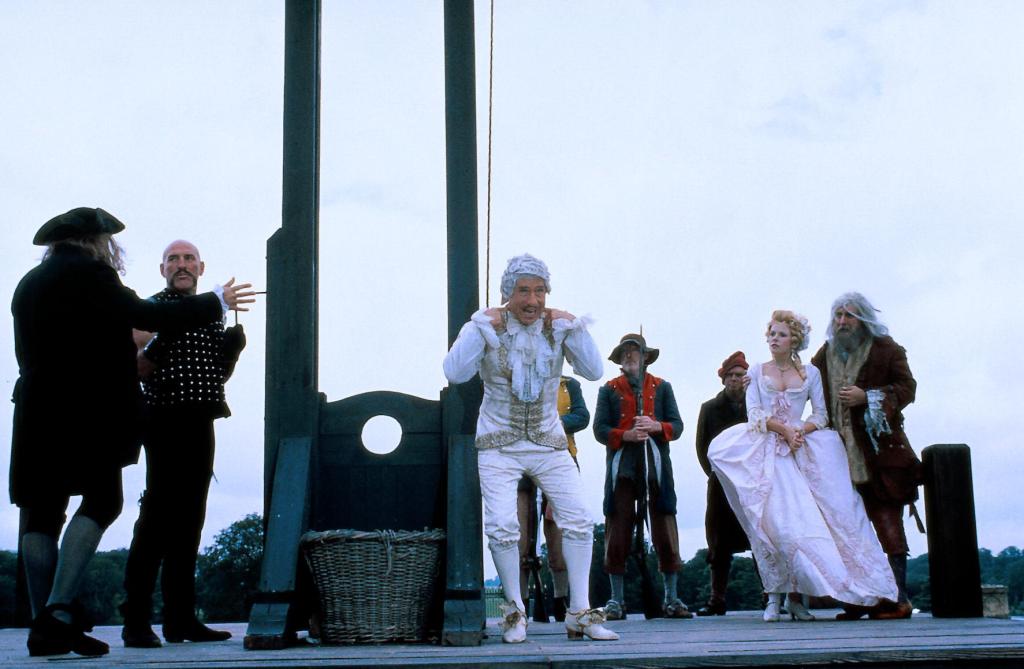
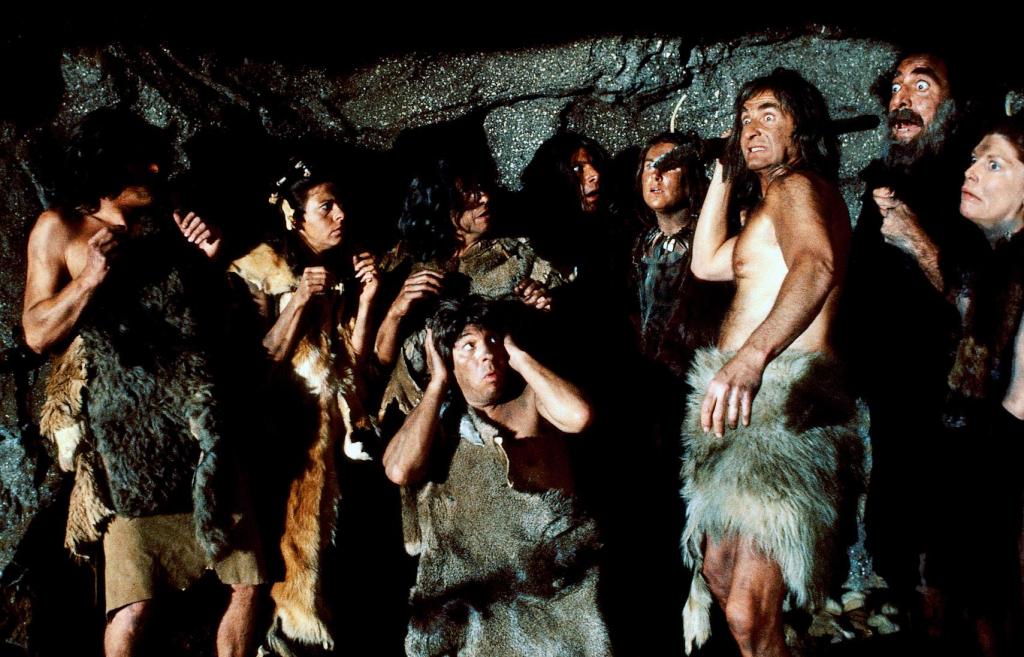
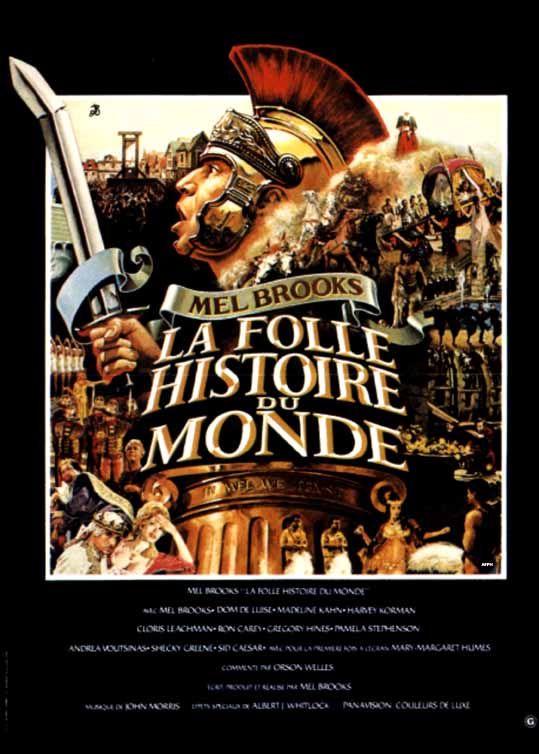
History of the World: Part I
| Year | 1981 |
|---|---|
| Country | USA |
| Tagline | a little something to offend everyone... |
| Director | Mel Brooks |
| Cinematography | Woody Omens |
| Scriptwriters | Mel Brooks |
| Produced | Mel BrooksStuart CornfeldAlan Johnson |
| Music | John Morris |
| Art Direction | Harold MichelsonNorman NewberryPatricia Norris |
| Editing | John C. Howard |
| Genres | Comedy |
| USA Gross | $31 672 907сборы |
| Release Date | June 12, 1981 |
| MPAA | R |
| Runtime | 92 min. |