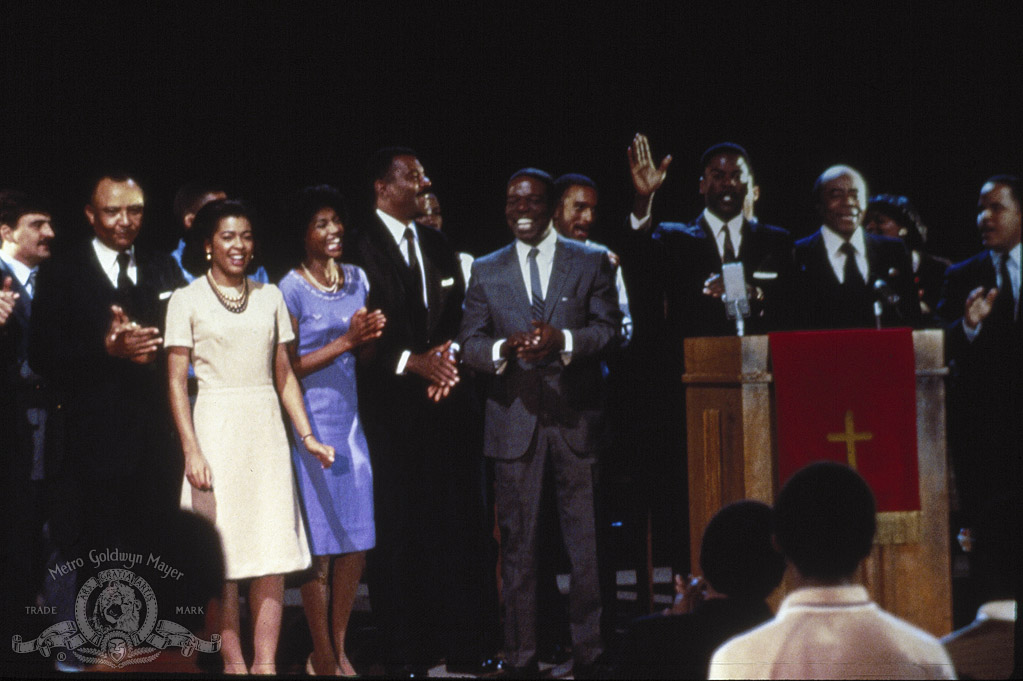
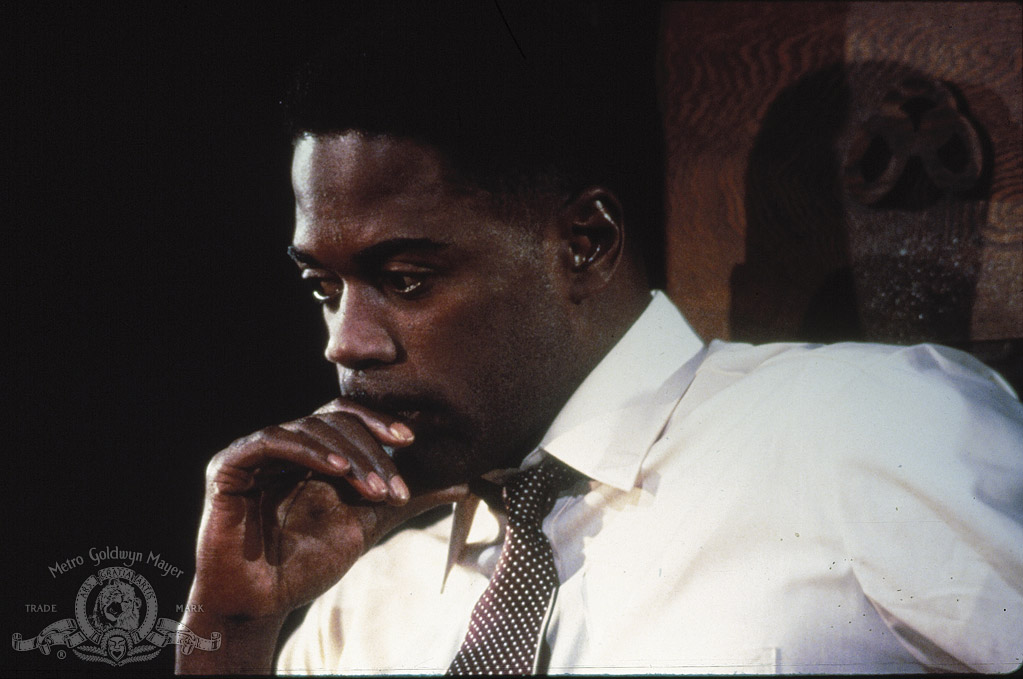
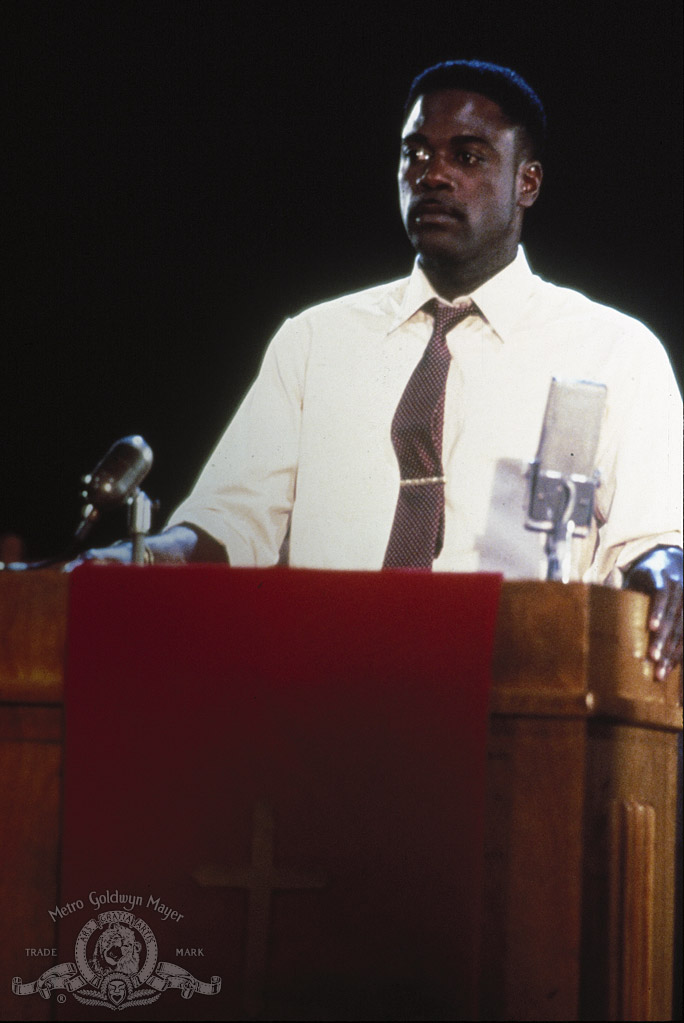
For Us the Living: The Medgar Evers Story
| Year | 1983 |
|---|---|
| Country | USA |
| Director | Michael Schultz |
| Cinematography | Alan Kozlowski |
| Scriptwriters | Ossie DavisKen RotcopMyrlie Evers |
| Produced | Ken RotcopCharles W. FriesSy Levin |
| Music | Gerald Fried |
| Art Direction | Lynn Wolverton-ParkerYvonne Hegney |
| Editing | Harry KeramidasThomas Penick |
| Genres | DramaCrimeBiography |
| Release Date | March 22, 1983 |
| Runtime | 90 min. |