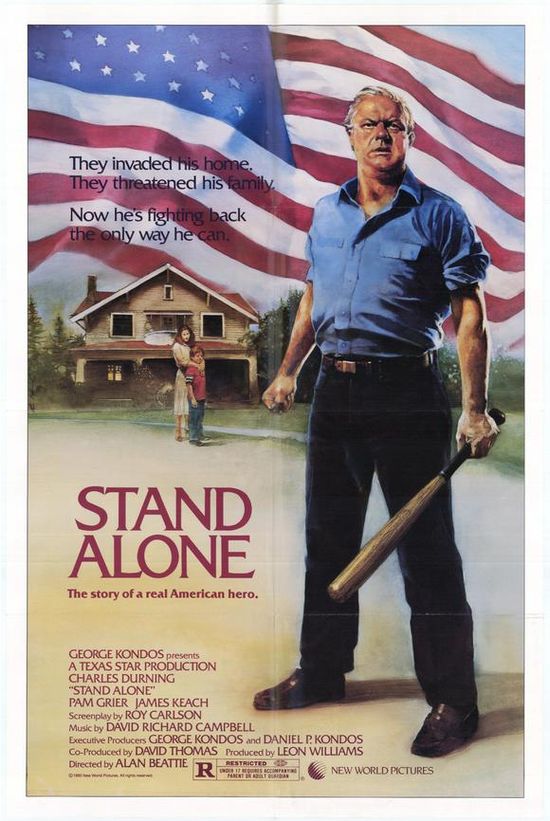
Stand Alone
| Year | 1985 |
|---|---|
| Country | USA |
| Tagline | They invaded his home. They threatened his family. Now he's fighting back the only way he can |
| Director | Alan Beattie |
| Cinematography | Tom RichmondTim Suhrstedt |
| Scriptwriters | Roy Carlson |
| Produced | Leon WilliamsTamar Simon HoffsDaniel P. Kondos |
| Music | David Campbell |
| Art Direction | Pamela B. WarnerDarcee FrischDonald Elmblad |
| Editing | Fabien D. Tordjmann |
| Genres | ActionDrama |
| MPAA | R |
| Runtime | 94 min. |