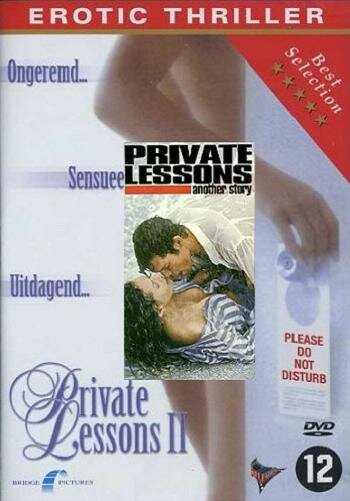
Private Lessons: Another Story
| Year | 1994 |
|---|---|
| Country | USA |
| Tagline | An exotic story of lust and betrayal |
| Director | Dominique Othenin-Girard |
| Cinematography | Bernd Heinl |
| Scriptwriters | Wm. Mernit |
| Produced | R. Ben EfraimDim DimbortAvi Lerner |
| Music | Kevin Sepe |
| Art Direction | Yonit Hamer |
| Editing | Richard Trevor |
| Genres | Drama |
| Release Date | May 14, 1994 |
| MPAA | R |
| Runtime | 86 min. |