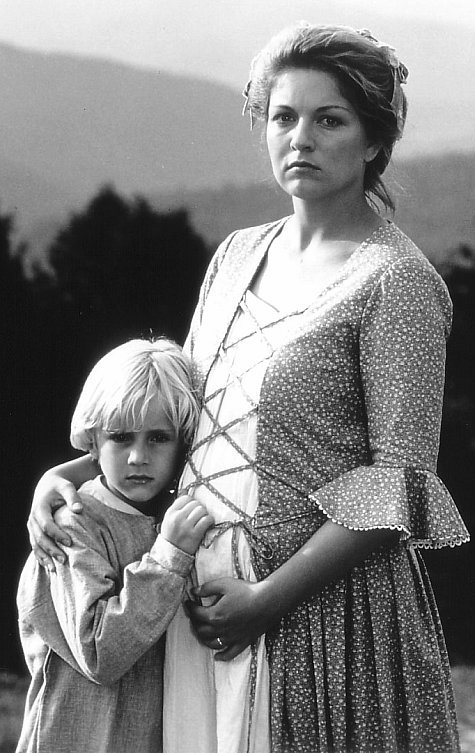
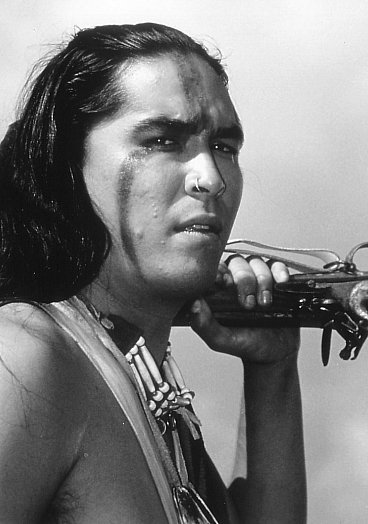
Follow the River

| Year | 1995 |
|---|---|
| Country | USA |
| Director | Martin Davidson |
| Cinematography | Michael Gershman |
| Scriptwriters | James Alexander ThomJennifer Miller |
| Produced | Alvin CoopermanTom LuseBrent Shields |
| Music | Ernest Troost |
| Art Direction | Scott RitenourSandy DavidsonCharles Korian |
| Editing | Bonnie Koehler |
| Genres | DramaAdventure |
| Release Date | April 22, 1995 |
| MPAA | PG |
| Runtime | 91 min. |