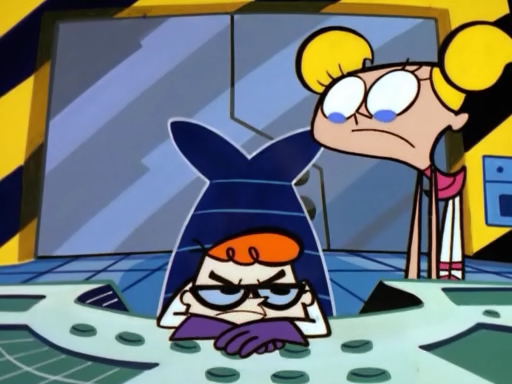
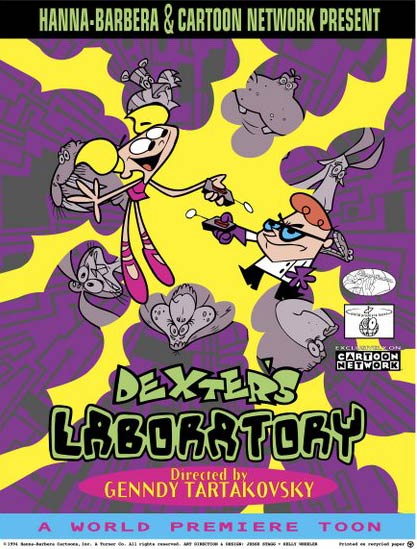
Dexter's Laboratory
| Year | 1996 |
|---|---|
| Country | USA |
| Tagline | He skips grades. She just skips |
| Director | Genndy TartakovskyRobert RenzettiJohn McIntyre |
| Scriptwriters | Aaron SpringerGabe SwarrBill Wray |
| Produced | Genndy TartakovskyDebby HindmanSherry Gunther |
| Music | Thomas ChaseSteve RuckerGary Lionelli |
| Art Direction | Craig McCrackenPaul StecPaul Rudish |
| Editing | Pat FoleyPaul Douglas |
| Genres | CartoonFictionComedyFamily |
| Release Date | April 28, 1996 |
| Runtime | 22 min. |