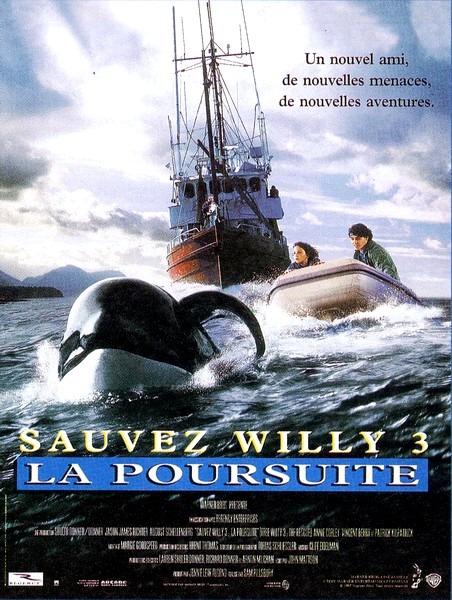
Free Willy 3: The Rescue
| Year | 1997 |
|---|---|
| Country | USA |
| Tagline | A new friend. A new threat. A new adventure that will capture your heart |
| Director | Sam Pillsbury |
| Cinematography | Tobias A. Schliessler |
| Scriptwriters | John MattsonKeith Walker |
| Produced | Jennie Lew TugendRichard DonnerJulie Durk |
| Music | Cliff Eidelman |
| Art Direction | Brent ThomasDouglasann MenchionsMaya Mani |
| Editing | Margaret Goodspeed |
| Genres | DramaAdventureFamily |
| USA Gross | $3 446 539сборы |
| Release Date | August 6, 1997 |
| MPAA | PG |
| Runtime | 78 min. |