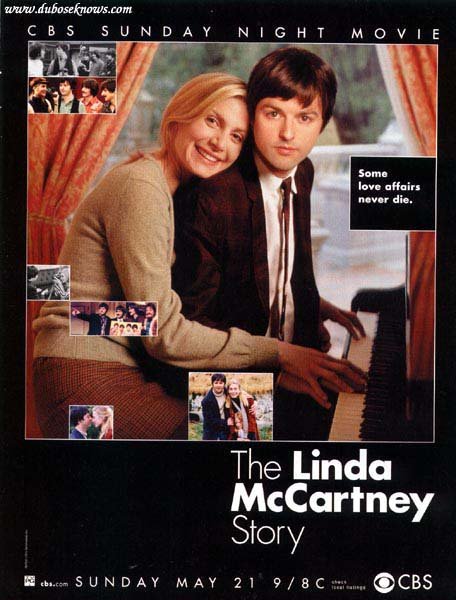
The Linda McCartney Story
| Year | 2000 |
|---|---|
| Country | Canada, USA |
| Director | Armand Mastroianni |
| Cinematography | David Burr |
| Scriptwriters | Christine Berardo |
| Produced | Jacobus RoseBarnet BainStephen Deutsch |
| Music | J. Peter Robinson |
| Art Direction | Linda Del RosarioRichard ParisMonique Prudhomme |
| Editing | Terry Blythe |
| Genres | DramaBiography |
| Release Date | May 21, 2000 |
| Runtime | 90 min. |