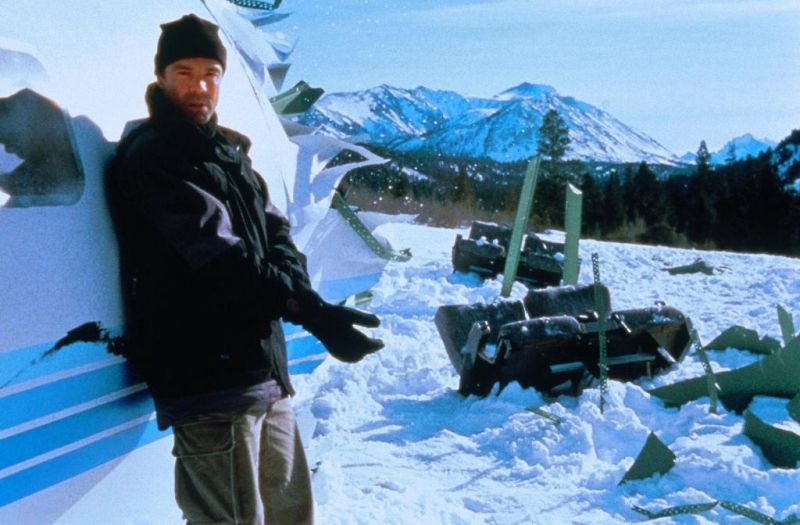
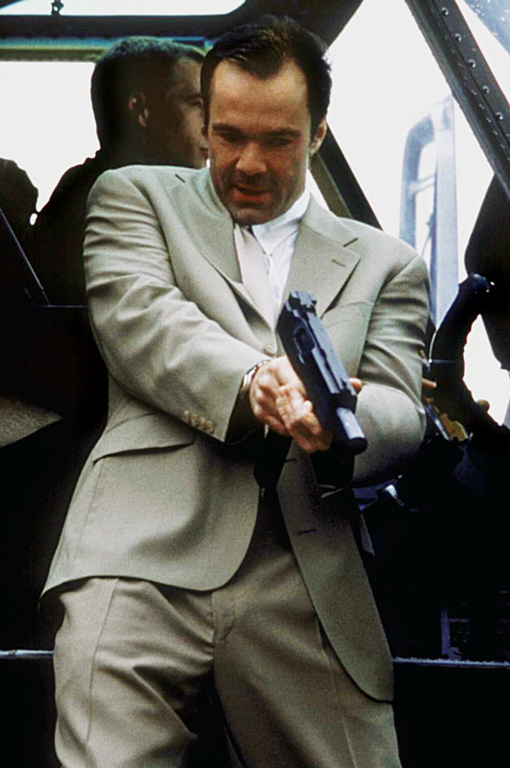
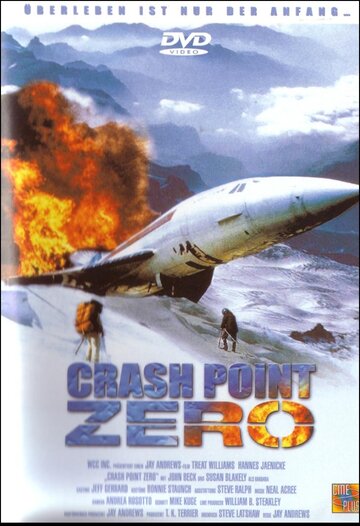
Crash Point Zero
| Year | 2001 |
|---|---|
| Country | USA |
| Tagline | The struggle for survival starts now... |
| Director | Jim Wynorski |
| Cinematography | Andrea V. Rossotto |
| Scriptwriters | Steve Latshaw |
| Produced | T.K. TerrierAlan B. BursteenWilliam B. Steakley |
| Music | Neal Acree |
| Art Direction | Steve RalphBonnie Stauch |
| Editing | Michael Kuge |
| Genres | ActionAdventure |
| Release Date | March 23, 2001 |
| MPAA | R |
| Runtime | 93 min. |