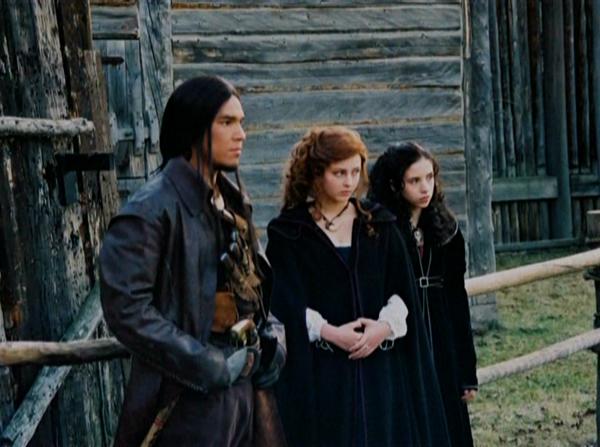
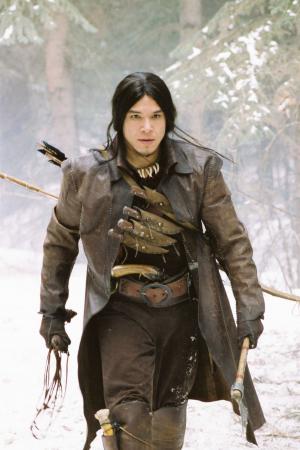
Ginger Snaps Back: The Beginning

| Year | 2004 |
|---|---|
| Country | Canada |
| Director | Grant Harvey |
| Cinematography | Michael Marshall |
| Scriptwriters | Christina RayStephen Massicotte |
| Produced | Paula DevonshireGrant HarveySteven Hoban |
| Music | Alex Khaskin |
| Art Direction | Todd CherniawskyDoug BlackieAlex Kavanagh |
| Editing | Ken Filewych |
| Genres | HorrorDrama |
| Release Date | July 10, 2004 |
| MPAA | R |
| Runtime | 94 min. |