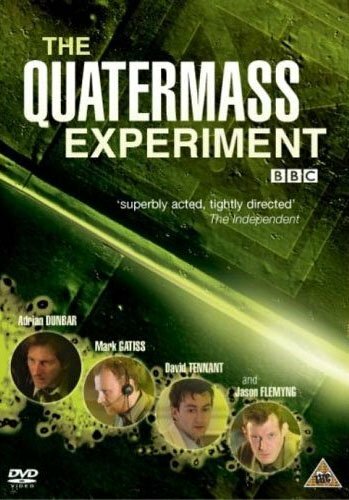
The Quatermass Experiment
| Year | 2005 |
|---|---|
| Country | UK |
| Director | Sam Miller |
| Cinematography | Alan Stewart |
| Scriptwriters | Nigel KnealeRichard Fell |
| Produced | Bill BoyesAlison WillettRichard Fell |
| Music | Tim Atack |
| Art Direction | Tom SayerMartina O'LoughlinMary-Jane Reyner |
| Genres | FictionThrillerDrama |
| Release Date | April 2, 2005 |
| Runtime | 97 min. |