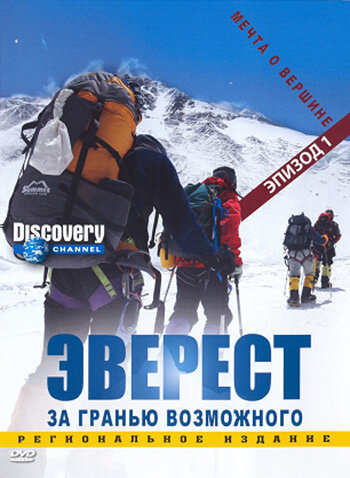
Everest: Beyond the Limit
| Year | 2006 |
|---|---|
| Country | USA |
| Director | Ed VennerBarny RevillEd Wardle |
| Cinematography | Matt Green |
| Scriptwriters | Steve EderEd Fields |
| Produced | Dick ColthurstWilliam K. HowardKirsty Mitchell |
| Music | The Insects |
| Editing | Mike DennyJoi ShillingMike Crozier |
| Genres | DocumentaryAdventure |
| Release Date | November 14, 2006 |
| Runtime | 48 min. |