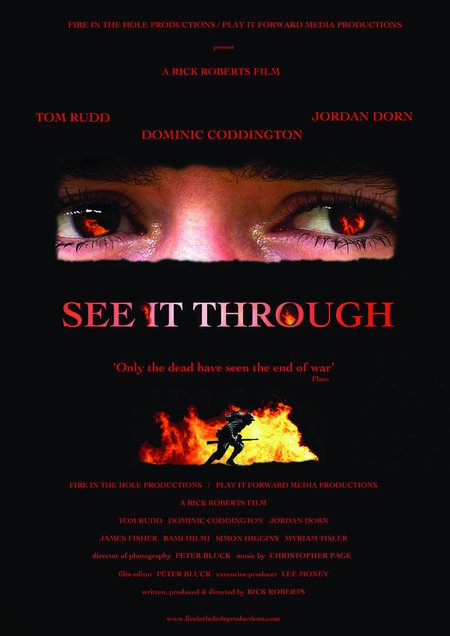
See It Through
| Year | 2006 |
|---|---|
| Country | UK |
| Tagline | 'Only the dead have seen the end of war' Plato |
| Director | Rick Roberts |
| Cinematography | Peter BluckRay Warby |
| Scriptwriters | Rick Roberts |
| Produced | Rick RobertsLee Money |
| Music | Christopher Page |
| Editing | Peter Bluck |
| Genres | Military |
| Release Date | September 24, 2006 |
| Runtime | 75 min. |