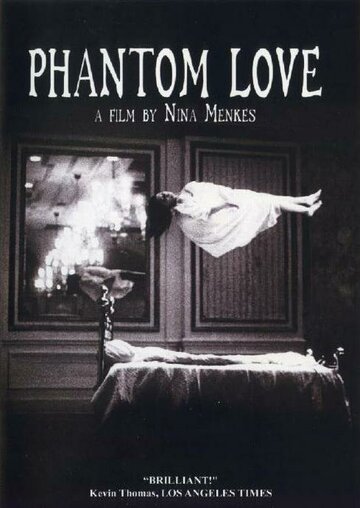
Phantom Love
| Year | 2007 |
|---|---|
| Country | USA |
| Director | Nina Menkes |
| Cinematography | Christopher Soos |
| Scriptwriters | Nina Menkes |
| Produced | Kevin RagsdaleLena BubenechikJulian Goldberger |
| Music | Rich Ragsdale |
| Art Direction | S. Logan WinceErica Frank |
| Editing | Nina Menkes |
| Genres | Drama |
| Release Date | January 19, 2007 |
| Runtime | 87 min. |