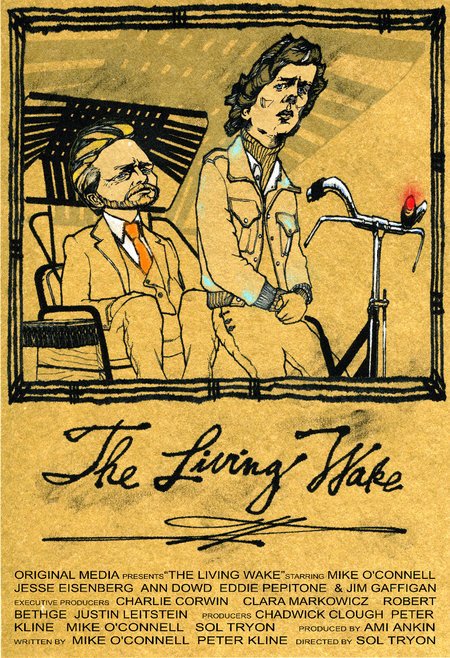
The Living Wake
| Year | 2007 |
|---|---|
| Country | USA |
| Director | Sol Tryon |
| Cinematography | Scott Miller |
| Scriptwriters | Peter KlineMike O'Connell |
| Produced | Ami AnkinPeter KlineMike O'Connell |
| Music | Carter LittleMike O'Connell |
| Art Direction | Michael GrasleyNegar AliRafaela Stacheter |
| Editing | Joe Klotz |
| Genres | Comedy |
| USA Gross | $12 232сборы |
| Release Date | June 8, 2007 |
| MPAA | PG-13 |
| Runtime | 91 min. |
