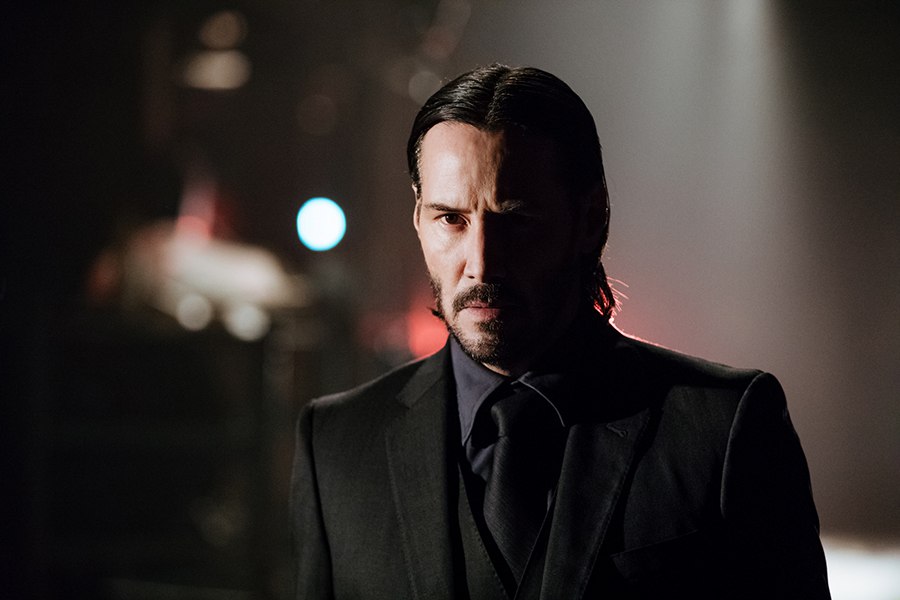
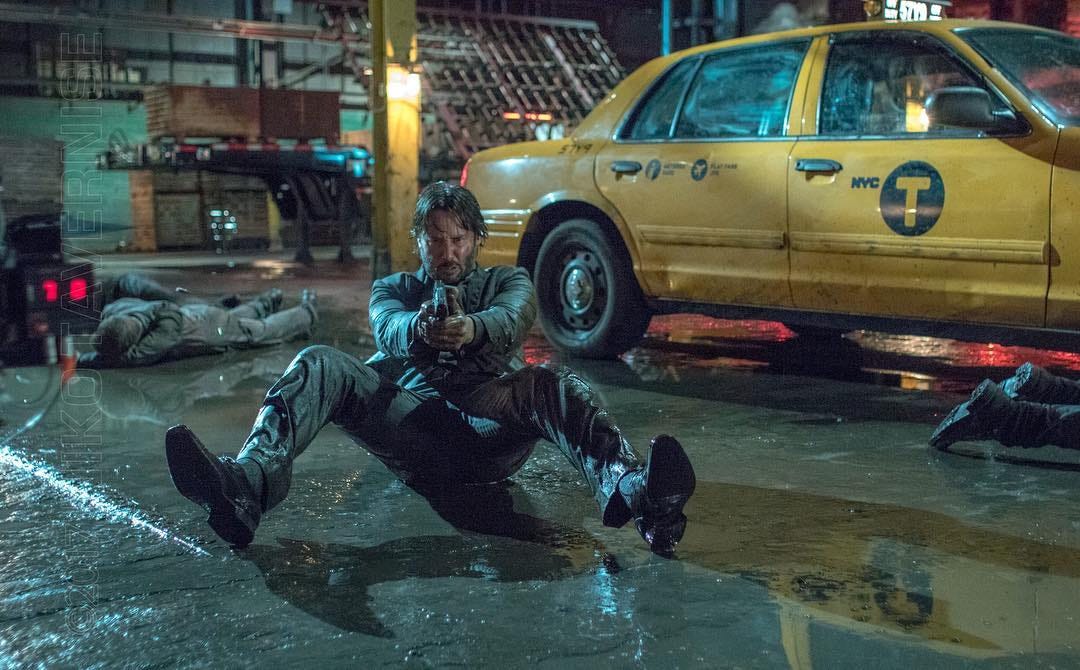
John Wick: Chapter Two

| Year | 2017 |
|---|---|
| Country | USA, Hong Kong |
| Tagline | Never stab the devil in the back |
| Director | Chad Stahelski |
| Cinematography | Dan Laustsen |
| Scriptwriters | Derek Kolstad |
| Produced | Jeff G. WaxmanRobert BernacchiKevin Scott Frakes |
| Music | Tyler BatesJoel J. Richard |
| Art Direction | Cristina OnoriSaverio SammaliKevin Kavanaugh |
| Editing | Evan Schiff |
| Genres | ActionThrillerCrime |
| USA Gross | $92 029 184 |
| Worldwide Gross | $171 539 887 |
| Release Date | January 30, 2017 |
| MPAA | R |
| Runtime | 122 min. |