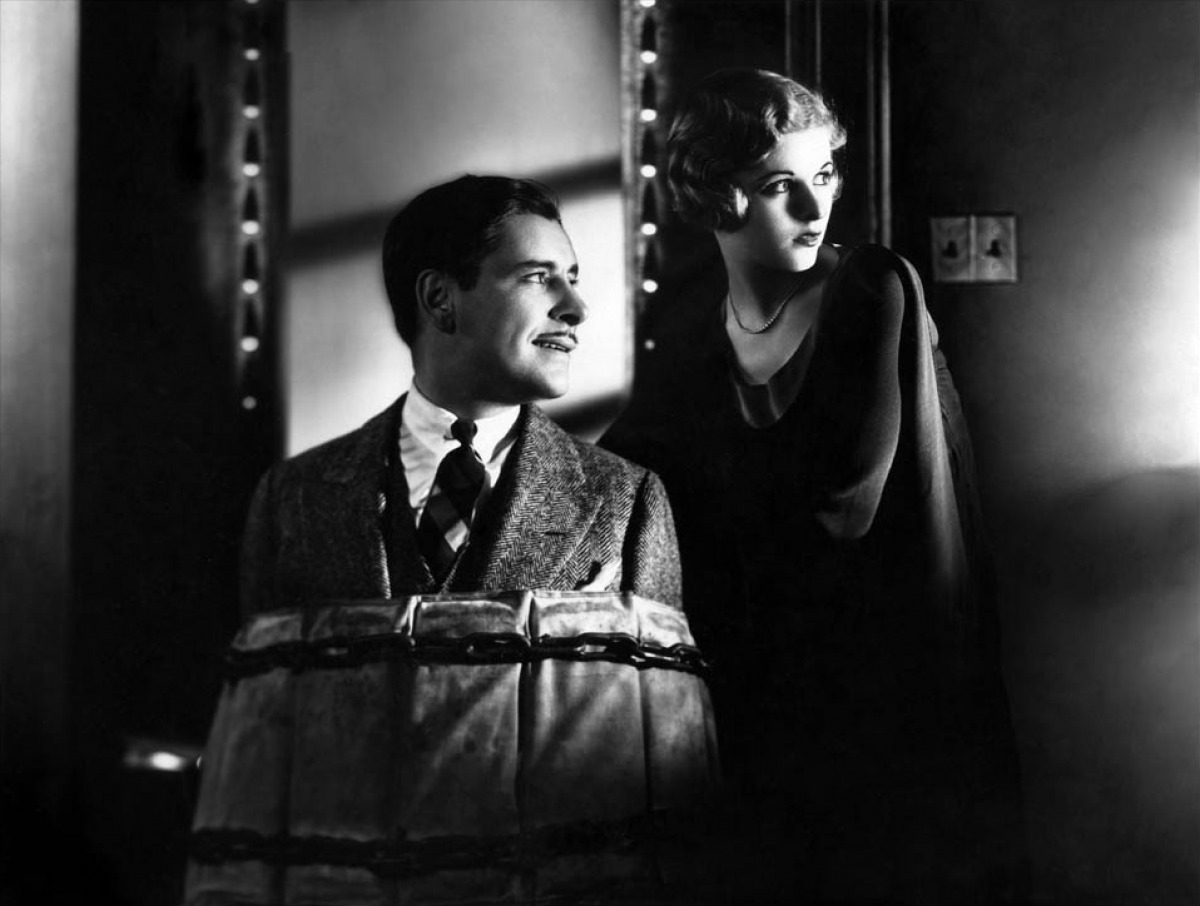
Bulldog Drummond

| Year | 1929 |
|---|---|
| Country | USA |
| Director | F. Richard Jones |
| Cinematography | George BarnesGregg Toland |
| Scriptwriters | Herman C. McNeileSidney HowardWallace Smith |
| Produced | Samuel Goldwyn |
| Art Direction | William Cameron Menzies |
| Editing | Frank LawrenceViola Lawrence |
| Genres | ThrillerDramaDetective |
| Release Date | May 2, 1929 |
| Runtime | 90 min. |