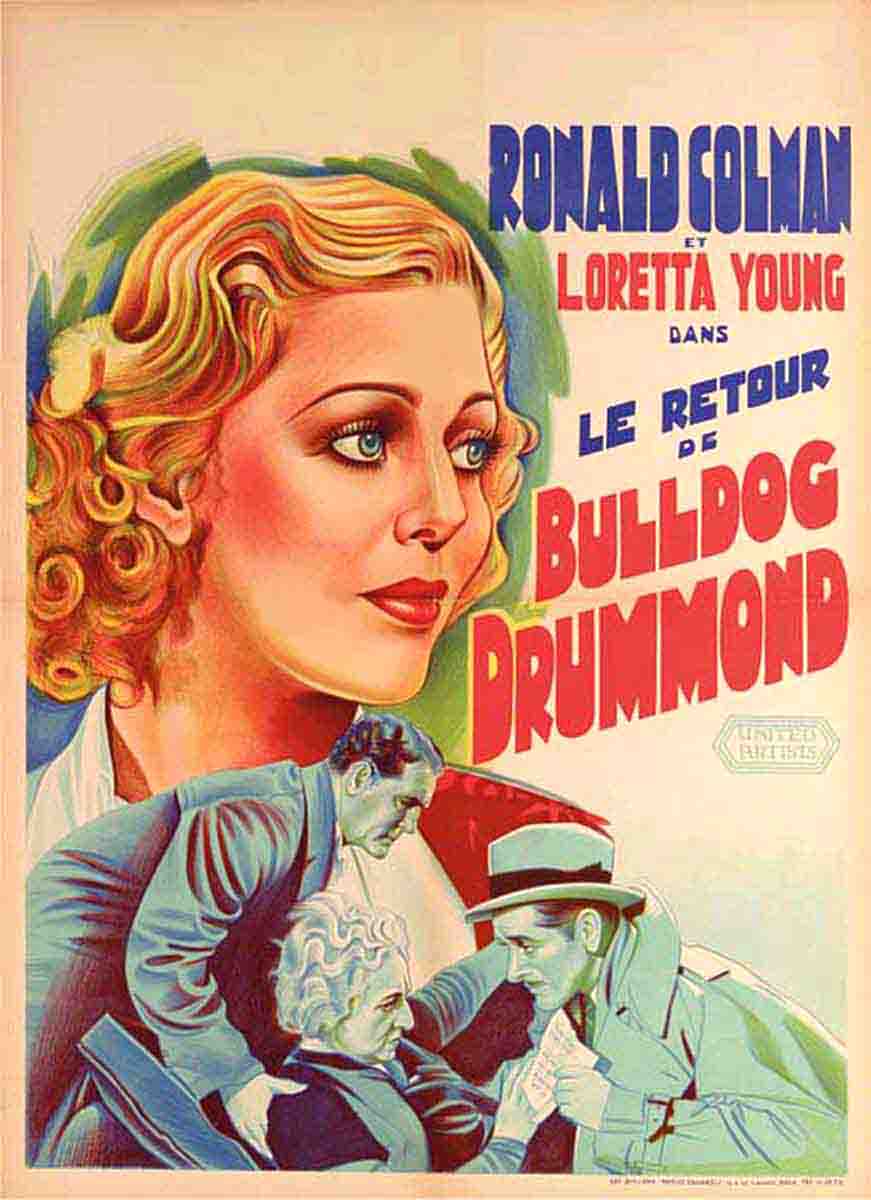
Bulldog Drummond Strikes Back
| Year | 1934 |
|---|---|
| Country | USA |
| Director | Roy Del Ruth |
| Cinematography | J. Peverell Marley |
| Scriptwriters | Nunnally JohnsonHenry LehrmanHerman C. McNeile |
| Produced | Darryl F. Zanuck |
| Music | Alfred Newman |
| Art Direction | Richard DayGwen Wakeling |
| Editing | Allen McNeil |
| Genres | ComedyDetective |
| Release Date | August 15, 1934 |
| Runtime | 83 min. |
