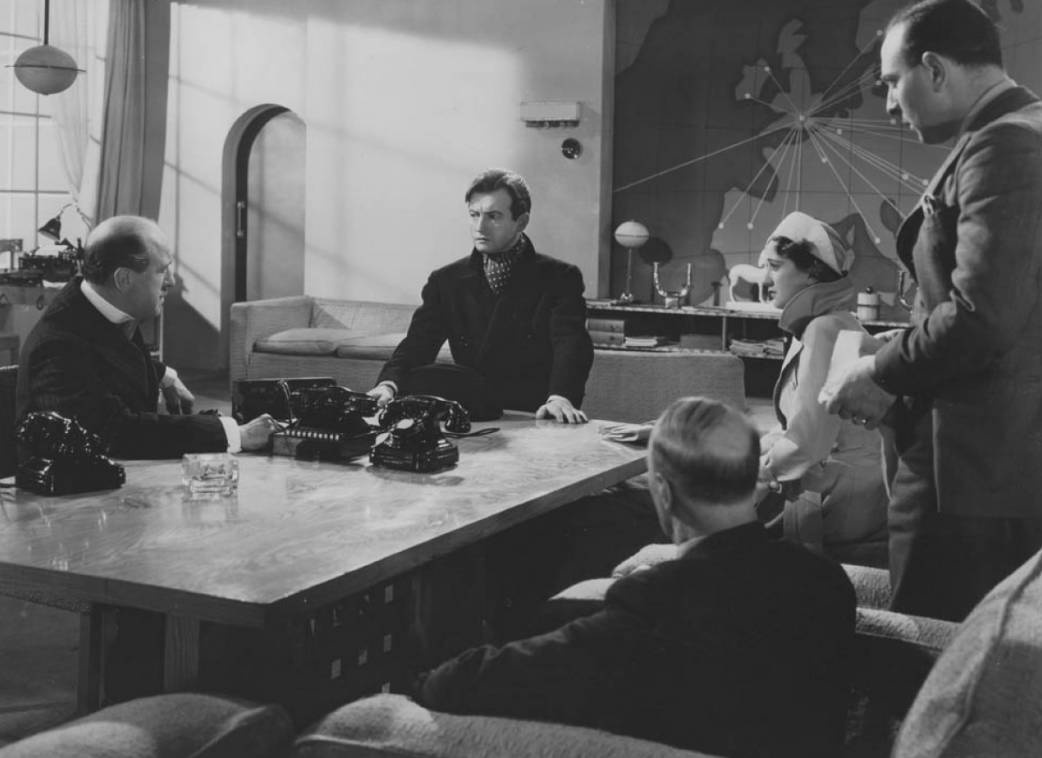
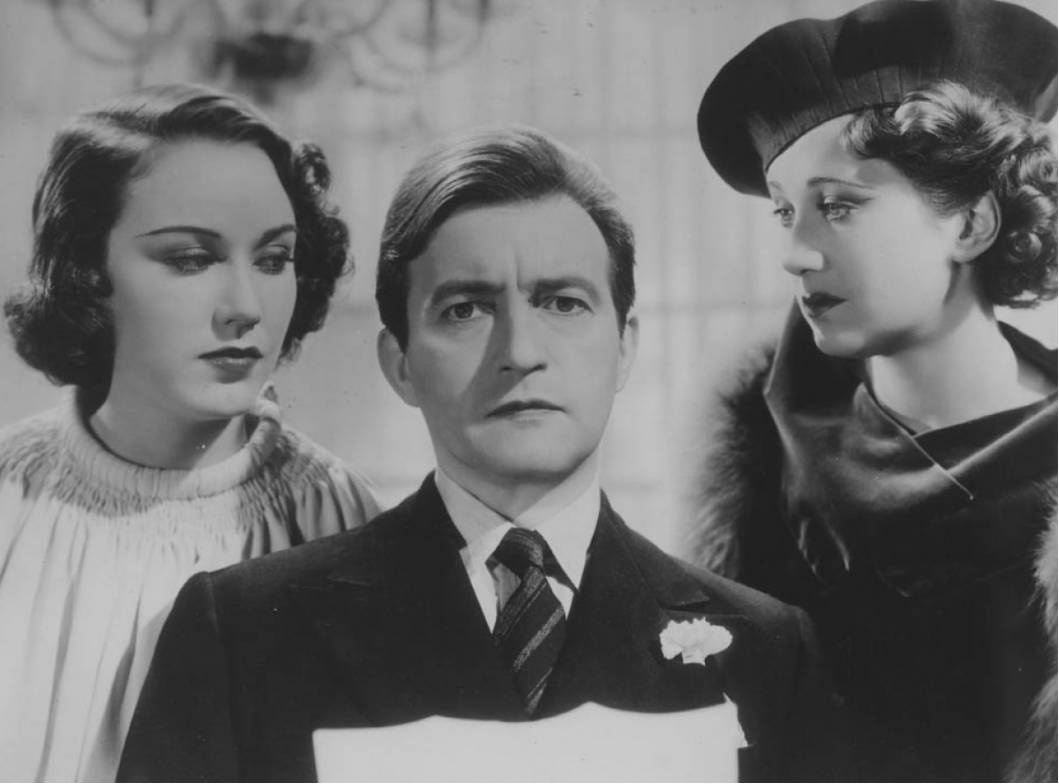
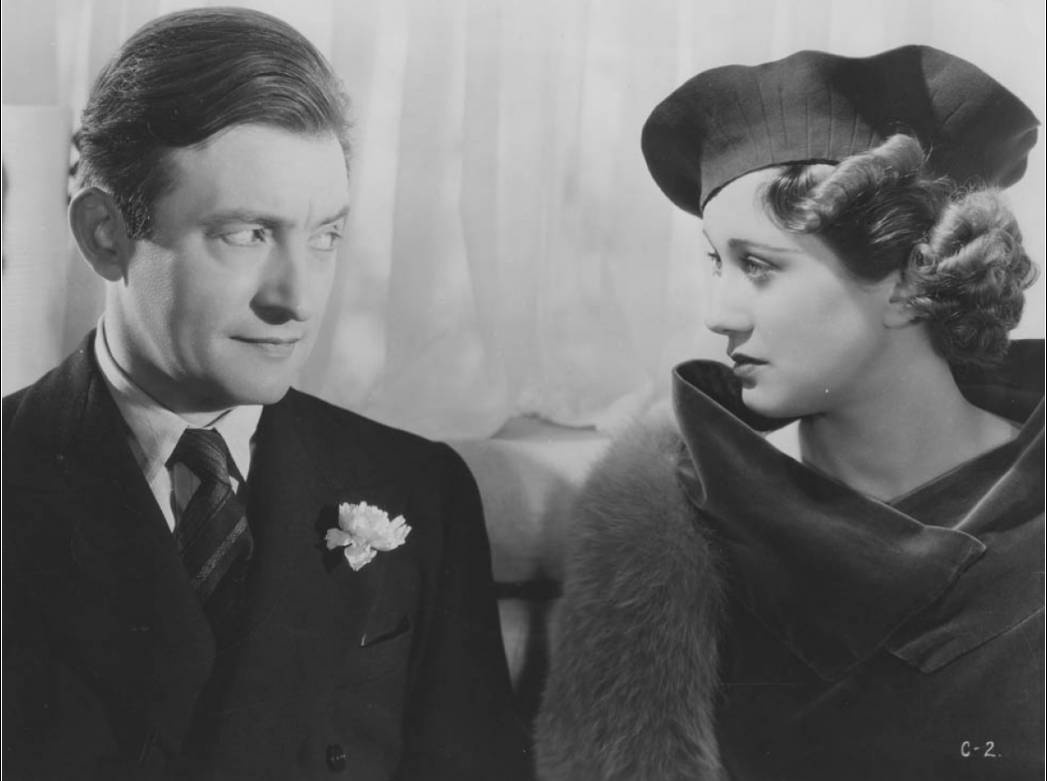
The Clairvoyant

| Year | 1935 |
|---|---|
| Country | UK |
| Tagline | HEXED BY THE EVIL EYE |
| Director | Maurice Elvey |
| Cinematography | Glen MacWilliams |
| Scriptwriters | Charles BennettErnst LotharBryan Edgar Wallace |
| Produced | Michael Balcon |
| Music | Arthur Benjamin |
| Art Direction | Alfred JungeJoe Strassner |
| Editing | Paul Capon |
| Genres | ThrillerDramaMelodramaDetective |
| Release Date | June 7, 1935 |
| Runtime | 81 min. |