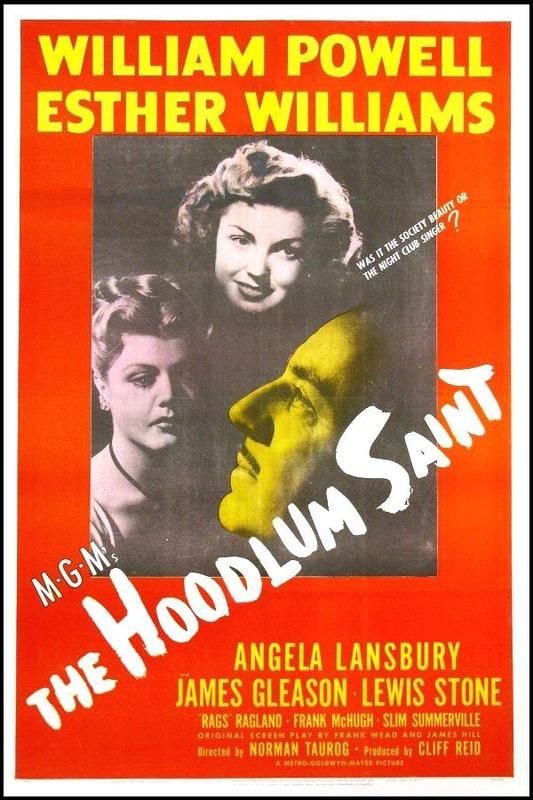
The Hoodlum Saint
| Year | 1946 |
|---|---|
| Country | USA |
| Tagline | Was it the society beauty or the night club singer? (Title lobby card) |
| Director | Norman Taurog |
| Cinematography | Ray June |
| Scriptwriters | James HillFrank WeadFrances Marion |
| Produced | Cliff Reid |
| Music | Nathaniel Shilkret |
| Art Direction | Cedric GibbonsHarry McAfeeIrene |
| Editing | Ferris Webster |
| Genres | DramaMusic |
| Release Date | April 4, 1946 |
| Runtime | 91 min. |

