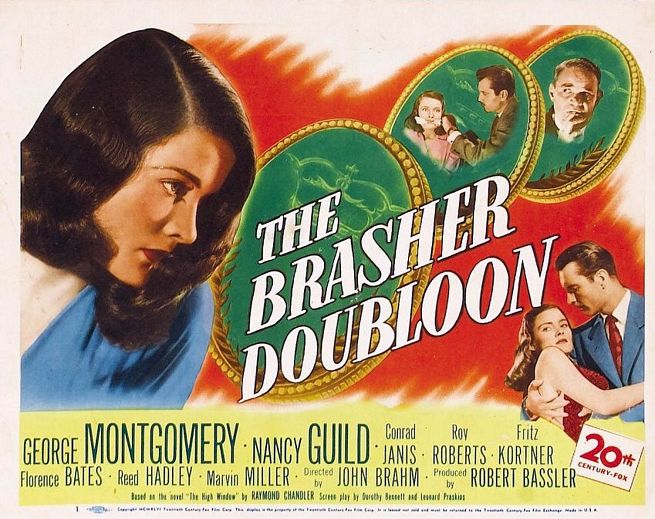
The Brasher Doubloon
| Year | 1947 |
|---|---|
| Country | USA |
| Tagline | THEY GAMBLED THEIR LIVES...TO POSSESS THE MOST DANGEROUS SECRET OF ALL! |
| Director | John Brahm |
| Cinematography | Lloyd Ahern Sr. |
| Scriptwriters | Dorothy BennettLeonard PraskinsRaymond Chandler |
| Produced | Robert Bassler |
| Music | David Buttolph |
| Art Direction | James BaseviRichard IrvineEleanor Behm |
| Editing | Harry Reynolds |
| Genres | Film-noirDramaCrimeDetective |
| Release Date | February 6, 1947 |
| Runtime | 72 min. |